Why Consider a Planer Sander?
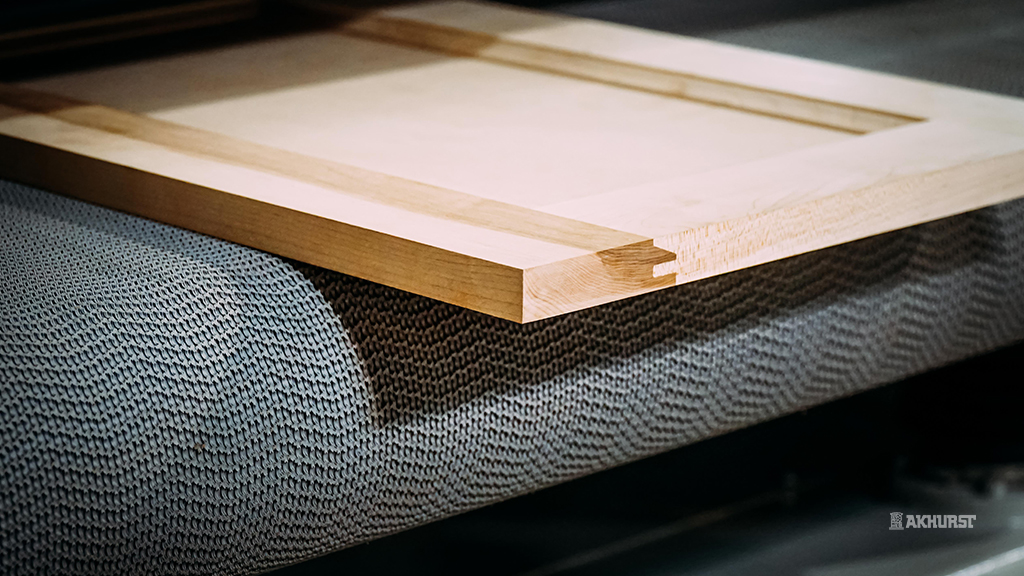
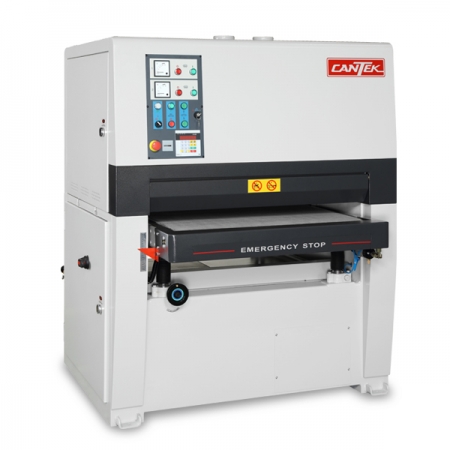
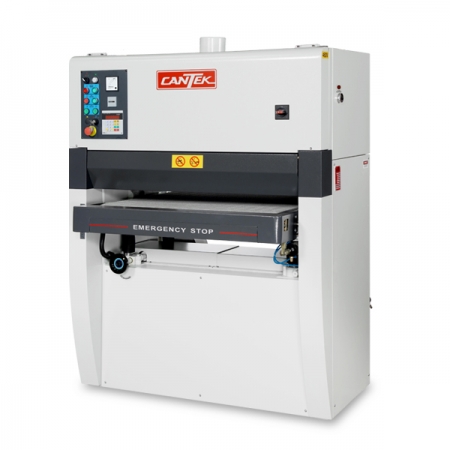
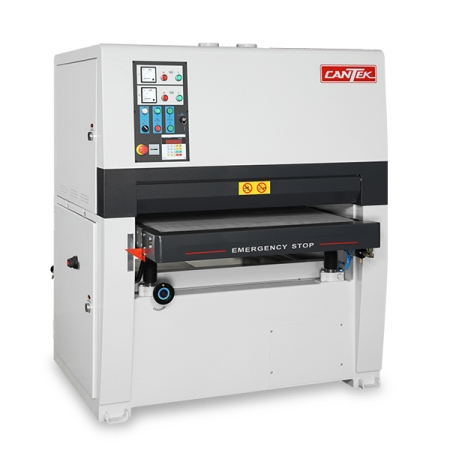
Traditionally shops have a surface planer and/or wide belt sander to calibrate and prepare their products for finishing. Understanding the differences between a planer and a sander and how efficiently using a planer sander can benefit your production can be vitally important to your business saving time and money.
Typically, a planer is utilized to prepare materials to be calibrated for thickness. After the planer’s calibration process, the material is processed by a widebelt sander to the operator’s intended finishing grit. The wide belt sander in the application process is used to process material that may be uneven or bumpy from the planer and transform the material into a nice smooth surface that will enhance the coating or stain applied. Depending on the application, the grit finish from the wide belt sander will end at 150 or higher.
Using a widebelt sander to remove more stock can be time-consuming and may require many passes through the wide belt sander to achieve the desired results. The use of abrasive belts in this process can be less effective and lead to more costs associated with the process, as abrasive belts will tend to be worn down faster with the aggressive removal of stock. A planer widebelt sander combines the process of two separate machines ensuring a more efficient process and freeing up valuable labour and production time.
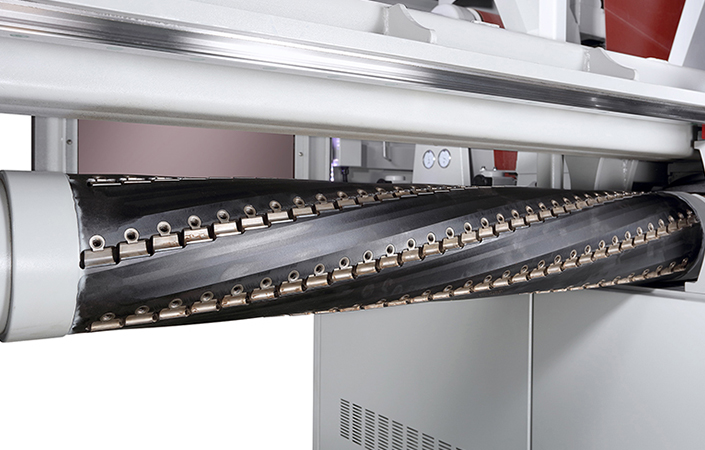
Cutterhead
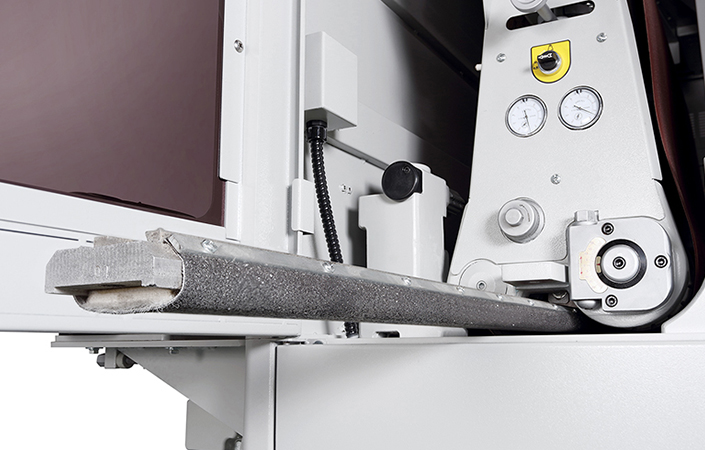
Adjustable Sanding Platen
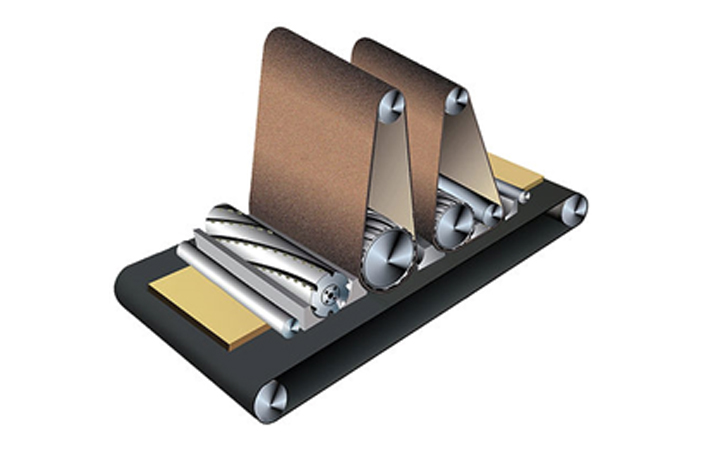
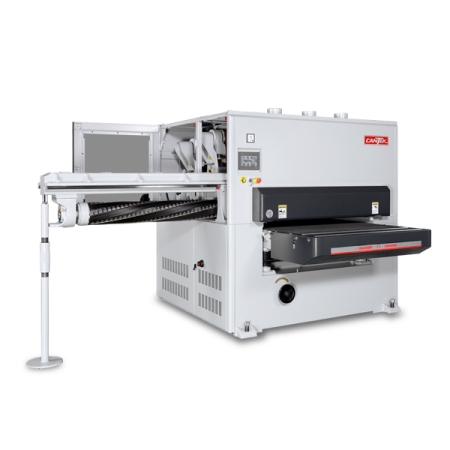
A planer sander is a machine that incorporates a spiral insert knife cutter head followed typically by one to three sanding heads. The planer head can be manually adjusted or programmed to remove a certain amount of material. This process is called calibration or stock removal and can be very effective in treating raw lumber, live-edged, or material that is not level or balanced. After passing through the initial planer cutter head, the material is processed through a rubber contact drum, and this is the initial phase of using the widebelt sander to sand the material. This process usually is not intended to remove stock but to alleviate the deep scratches made by the planer head while removing excess stock. Generally, two subsequent sanding heads are recommended to process the sanding material, especially with grits at 150 or higher. Having one sanding head followed by a planer head will not remove deep scratches entirely, leading to blotching and noticeable lines in the overall finish. The alternative is to replace the sanding abrasive belt with a higher grit and run the material through the planer sander while just using the sanding head. A secondary sanding head or a combination sanding head with a graphite platen will help remove the deep scratches and allow your material to be processed at 150 or 180 grits.
It is important to note that a planer sander will not remove as much material as a planer. This combination machine is built for efficiency but may not have the exact tolerances as a planer. For more stock removal in the planer sander process, you can have a cutter head followed by a steel contact drum, a traditional rubber drum, and a combination sanding head. Depending on how much material is intended to be removed and the hardness of the material, the typical removal of a planer sander in one pass is 2mm- 2.5mm or 0.078″ – 0.098″.
Planer head followed by two sanding heads
Infeed planer head and two sanding heads with combination platen on the outfeed sanding head.
- The planer head is far superior to removing material for calibration than a regular widebelt sander. You can typically remove up to 2.5mm on a planer head on a planer sander, whereas 80-grit sandpaper can only remove a maximum of 0.9mm at a very low feed rate or 10 ft/min.
- Planer sanders can come in widths from 24″ to 62″. A wide planer head can process finished countertops, slabs, live edges, or face frames.
- Stock removal using abrasives compared to a planing head is considerably more expensive because of abrasive costs.
- There is a significant cost saving in labour as having two individuals (infeed & outfeed) feed a planer and/or sander all day is costly. Reducing the number of passes and reducing material handling will significantly increase your efficiency and lower labour costs.
- The planer head can be quickly adjusted out of the way should you want to eliminate it, and the option of sanding only.
- Changing the knives on our Cantek SRN Planer Sander Series is easily done as the head is quickly slid out of the machine providing full access. The knives are solid carbide and can be rotated for a fresh edge.
- The helical spiral pattern allows for superior stock removal and unparalleled finish quality leading to fewer passes with the sander, reduces the load on the motors, and is extremely quiet even on full-width panels.
The advantages of having a planer widebelt sander when calibrating and sanding are unmatched, and the efficiency of processing material on two machines into one will save labour costs and much-needed time. The abrasive belt life will last longer with stock removal applications, and the ability to process material in one pass will significantly enhance your planing and sanding experience.
Stay tuned for future posts on getting the optimum performance out of your widebelt sanding machine.
Akhurst Machinery. Building Trust. Creating together.




Sanding to Perfection: Achieving a Fine Finish.
Machinery Solutions, Service and SupportThe journey to a fine finish in sanding is the culmination of transforming raw wood into a refined and desirable surface, ready for the application of the final finishing products.
Why Consider a Planer Sander?
Machinery Solutions, Service and SupportTraditionally shops have a surface planer and/or wide belt sander to calibrate and prepare their products for finishing. Understanding the differences between a planer and a sander and how efficiently using a planer sander can benefit your production can be vitally important to your business saving time and money.
Poor finishing results? Stay alert for the most common widebelt sanding issues.
Service and SupportWidebelt sanding is a critical stage in wood preparation before and during the finishing process. Often poor sanding results do not show up until it is too late and you have finished the material. Knowing what issues to look for and how to remedy them in advance will save you both time and money by eliminating costly rework and defects.