Poor finishing results? Stay alert for the most common widebelt sanding issues.
Widebelt sanding is a critical stage in wood preparation before and during the finishing process. Often poor sanding results do not show up until it is too late and you have finished the material. Knowing what issues to look for and how to remedy them in advance will save you both time and money by eliminating costly rework and defects. Below are some of the most common sanding defects which occur when using a widebelt sander.
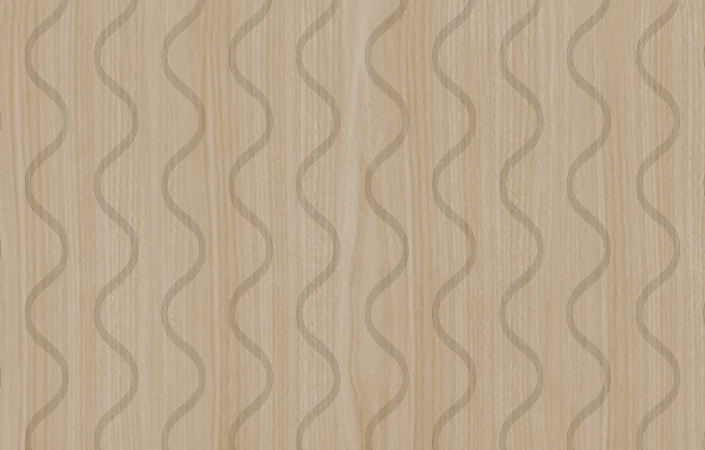
Snake lines or oscillation lines.
These lines show up in an oscillating pattern and tend to be shiny. Snake lines are often the result of dust buildup on the abrasive belts or on the contact drum itself. Additionally, it could be a buildup of glue, resin, or lacquer on the belt. A thorough inspection of both drum and abrasive belts can identify the problem in advance. A quick and easy solution would be to routinely blow out the machine’s interior. Getting into the habit of inspecting abrasive belts and contact drum before production will help ensure the optimum condition of your widebelt sander. After each use, blowing out the machine’s interior will help mitigate buildup on the contact drum and abrasive belts. Creating these habits in your operator will yield the best sanding results. Some sanders also come with an optional air jet belt cleaner which blows off dust particles in the belt as it crests over the drum and opens up. The dust is then collected in the dust chute. This may be a good option for your machine if you find regular buildup on your abrasives.
Snake lines or oscillation lines
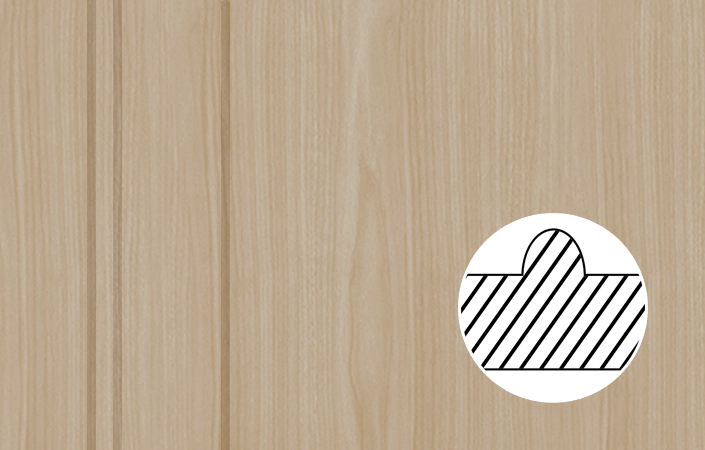
Raised lines.
Raised lines are often random, and skip spots can be difficult to spot. They can seemingly occur out of thin air, and determining the pattern can lead you to your answer. If your lines are short and straight in the same direction as the sanding direction, you could be trying to remove excess material or putting too much pressure on the abrasive. If the lines are spread apart, and in the direction of the feed, you could also be trying to remove too much material, resulting from poor dust collection. If lines are long and in the direction of the feed, there is likely something mechanical causing the issue, like damage to a drum or sanding pad. Regular inspection of the drum and pad is critical to sanding performance. Shine a light across the drum and see if there are any grooves in the drum. Take out the sanding pad and inspect the graphite pad and cloth/rubber underpad.
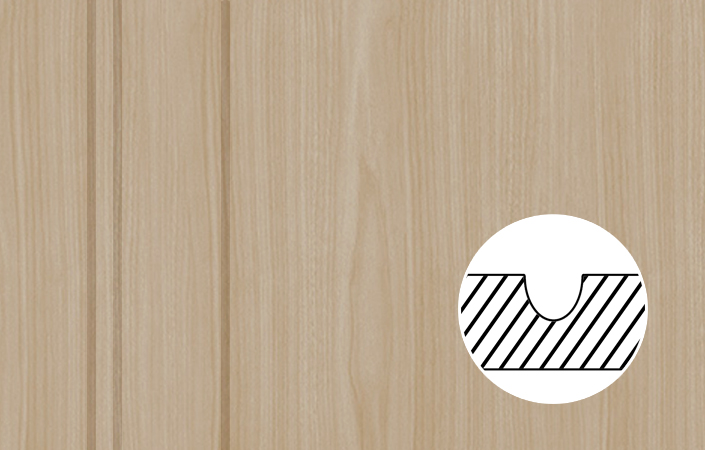
Grooves.
If you notice grooves in your material (the opposite of raised lines), you most certainly have buildup on your drum or sanding pad. Again, shine a light across and inspect the drum; run your hand along with it. Inspect the sanding pad as it may have a bump in the underpad or graphite, translating to your workpiece.
Raised lines
Grooves
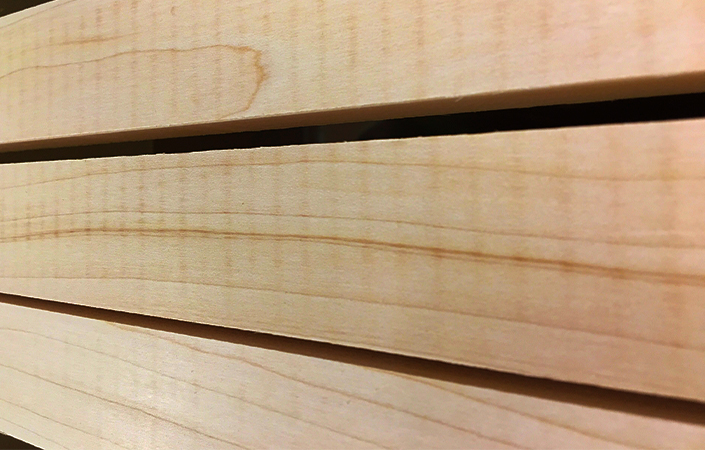
Blotchy finish.
A poorly sanded workpiece can result in a blotchy finish which obviously is not noticed until after the staining process. This can be the result of the wood fibres being bent over rather than sheared off. If the wood fibres are not sheared properly and are bent over, they can stand up again after the finishing process, resulting in random discoloration. Improper selection of the belt type (silicon carbide, aluminum oxide, and ceramic) and improper grit selection are significant factors in creating a blotchy finish.
Chatter marks. What is causing them?
Chatter marks are consistent even lines that appear in a transverse pattern across your material in the opposite direction of the feed. If you notice chatter marks, there are a few machine functions to check where the chatter marks are coming from. The spacing between the chatter marks will illustrate if the problem arises from the contact roller or a defective abrasive belt. Some of the causes of chatter marks are:
- Belt joint: Incorrect belt joint for the application, and the belt joint is being transferred to the workpiece.
- Conveyor belt: The conveyor may be worn or uneven.
- Contact roller: The roller may be worn, uneven and shaped like an oval or wrong durometer.
- Abrasive belt tension- Make sure to check the tension pressure on the sanding belts.
- Hold down rollers/shoes- The hold down rollers or pressure shoes may not be adjusted correctly, leaving to vibration.
- Vibration- Vibration can be coming from the machine or bearings.
- Stock removal: You are trying to remove more material than the abrasive can handle.
Proper belt sequencing.
One of our blog articles discussed proper belt sequencing and its effect on the sanding finish. The scratch depth from the coarser belt cannot be removed from the finer grit if you skip grits. The result is a poor aesthetically finished panel. For more information on this topic, learn more about Proper Grit Sequencing.
Blotchy finish
Chatter marks
Careful adherence to inspecting material throughout the production will help spot and identify poor sanding effects. Thoroughly cleaning the sander and implementing a preemptive checklist to inspect belts, rollers, contact drums, and conveyor tables will help mitigate poor sanding remedies. Having a qualified service technician perform regular maintenance ensures your sander is in optimal working order and will greatly reduce your stress and time and ultimately save you money. The key to poor sanding effects is to be vigilant, diagnose what effect you may have, and act immediately to resolve any sanding defects. Consult your sanding belt supplier to ensure you are using the correct belt for your material, and they offer a wealth of knowledge in solving many of your sanding challenges.
Stay tuned for future posts on getting the optimum performance out of your widebelt sanding machine, and happy sanding!
Akhurst Machinery. Building Trust. Creating together.
