Perfect results. Proper grit sequencing.
Getting the most from your wide belt sander ensures optimum finishing results and efficient production flow. Poper grit sequencing has a profound effect on both processes. Failure to adhere to proper grit sequencing can lead to a great deal of frustration with a poor quality end product, wasted time, loss of materials, and ultimately expensive unnecessary costs. This article discusses the guidelines to adhere to in relation to grit sequencing so that you can achieve maximum performance from your sanding machine. For this article, we will focus on solid wood sanding as the machine configuration varies greatly when sanding veneer products.
The first step is to identify what sanding grit you intend to finish with and also determine what grit you need to begin with. From here, we can start to go fill in the gaps. As a starting grit, you want a sanding belt that is aggressive enough to remove any knife marks but not too rough that you spend unnecessary time sanding out the deep scratches left by these courser grits. In most wood applications where the finish is applied, the end grit is usually 180 to 220 grit maximum. Anything above 220 grit risks closing the wood pores, making your workpiece unable to accept the stain or finish. Sanding sealer with grits above 220+ is a topic we will cover another time.
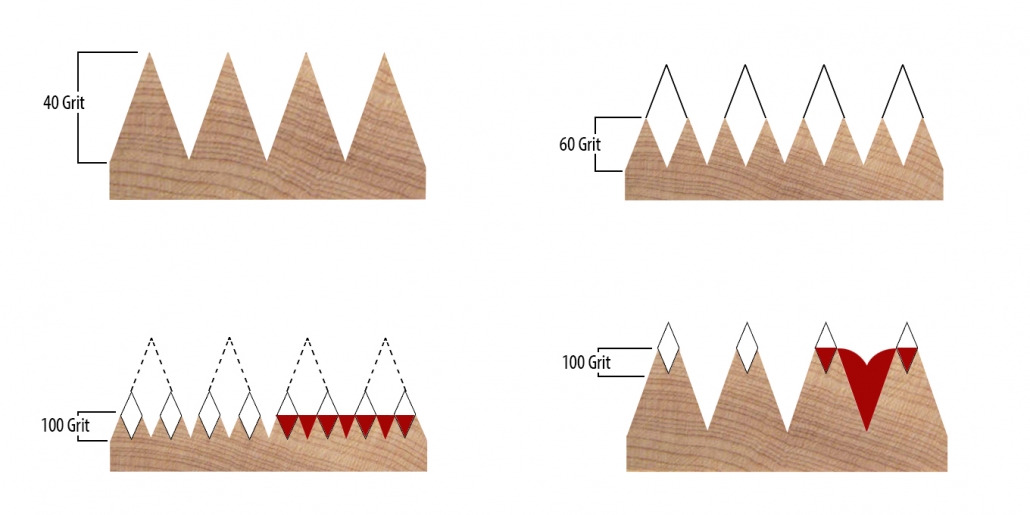
The rule of thumb is that you can skip a grit when calibrating with grits 36 to 60. When sanding with grits from 80 to 220+, you should not skip a grit. The scratch patterns in the 36-60 grits are coarser and leave deep scratch marks in the material. These deep scratches will be removed by the subsequent sanding operations with grits 80+. When sanding with grits 80+, you do not want to skip a grit as you will not be able to sand down to the depth of the scratch of the rougher grit with the higher grit. If your grit is not enough to sand down to the previous depth, you will simply take the high points off and leave the deeper scratch. This may not be noticeable until you go to stain and finish the material. Immediately the scratches will show up, leaving blotchy and unbalanced results. This can lead to wasted time in rework, substandard quality, and ultimately lost profits. Below is a graphical explanation of the depth of scratch scenario.
Picture: Illustration of grit sequencing patterns.
On your wide belt sander, do a test and skip a couple of grits. Stain the material in a dark cherry stain, the results of improper grit sequencing will become apparent. This is a standard rule, but also recognize that grit sequencing can be affected by the material of the drum (steel/rubber), abrasive coatings, and the speed of the machine. For example, the slower the conveyor belt (feed speed), the more surface contact you will have with the material allowing greater removal. The “Sanding Rule” applies to an optimum production environment. In this chart, we see what the correlation we have with different material and applications.
Grit |
Inches / MM (Removal) |
Applications |
40 |
0.040” / 1.0mm |
Rough Lumber + Remove bumps in wood + Remove old paints and finishes |
60 |
0.035” / 0.9mm |
|
80 |
0.024” / 0.6mm |
Starting grits for hardwoods |
100 |
0.017” / 0.4mm |
Remove shallow scratches |
120 |
0.010” / 0.25mm |
Starting grits for softwoods |
150 |
0.006” / 0.15mm |
Prep for enamel paint |
180 |
0.004” / 0.1mm |
Raised grain fibres + Surface irregularities |
220 |
0.002” / 0.05mm |
Surface finishing + Prep wood stain |
Asking detailed questions with your abrasive experts, like the knowledgeable people at Hermes Abrasives, will help you achieve optimum productivity and results from your widebelt sander. The number and type of heads on your sander will determine the number of passes you will require to obtain the optimum sanding results. Ultimately sticking to grit sequencing and understanding how these patterns interact with your material is key for success.
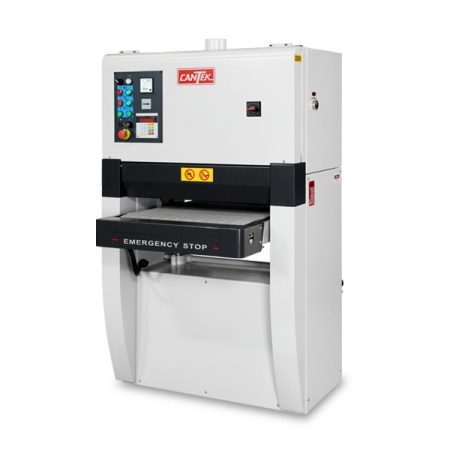
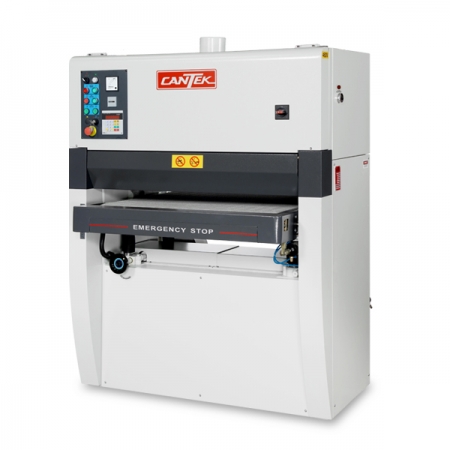
For more information on our wide range of widebelt sanding machines like our ever-popular Classical sanding machines, please follow the following links: C251 24″ Single Head Widebelt Sander, C371 36″ Widebelt Sander, and C372 37″ Two Head Widebelt Sander. We are pleased to introduce our new Professional series designed for higher production requirements: PS43DA 43″ Widebelt Sander, PS37DA 37” Widebelt Sander. In future articles, we will discuss the benefits of a planer sander and how it can reduce the number of passes to achieve your desired output: PRN Series Planer Sanders.
Stay tuned for future posts on getting the optimum performance out of your widebelt sanding machine.
Akhurst Machinery. Building Trust. Creating together.
